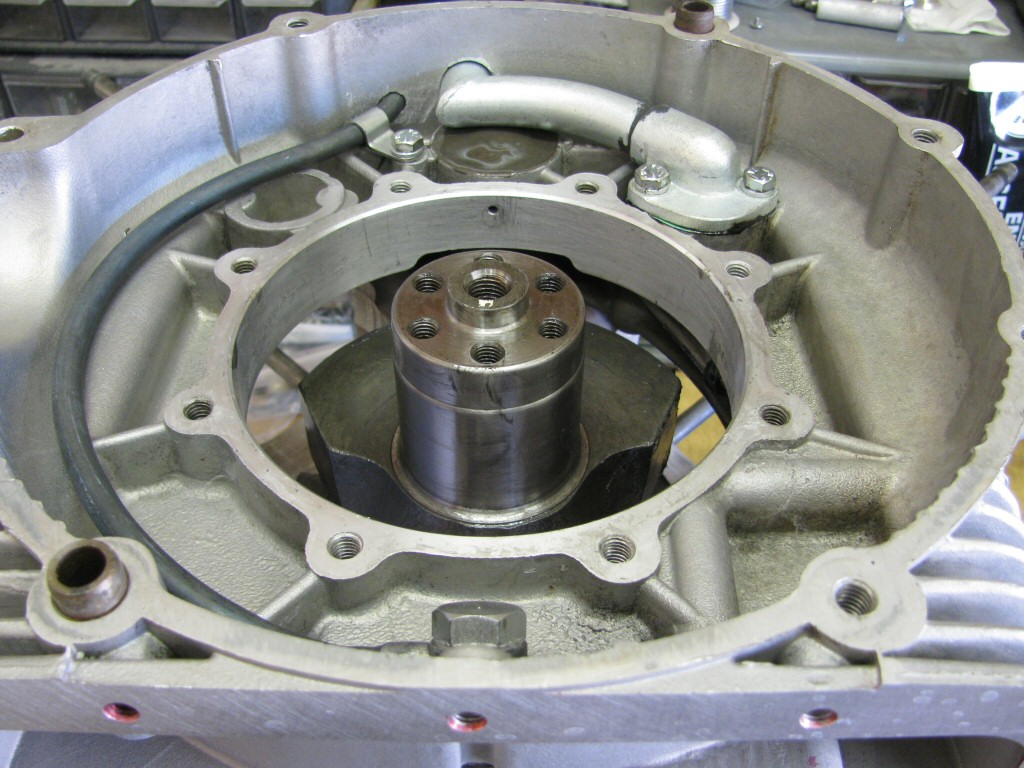
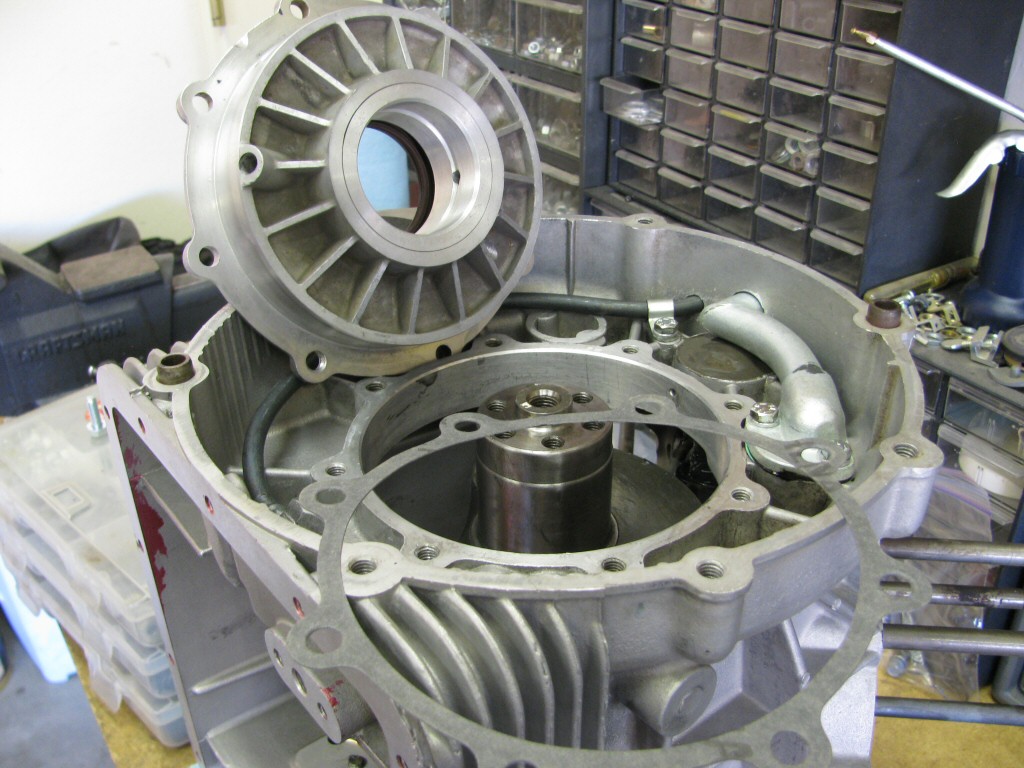
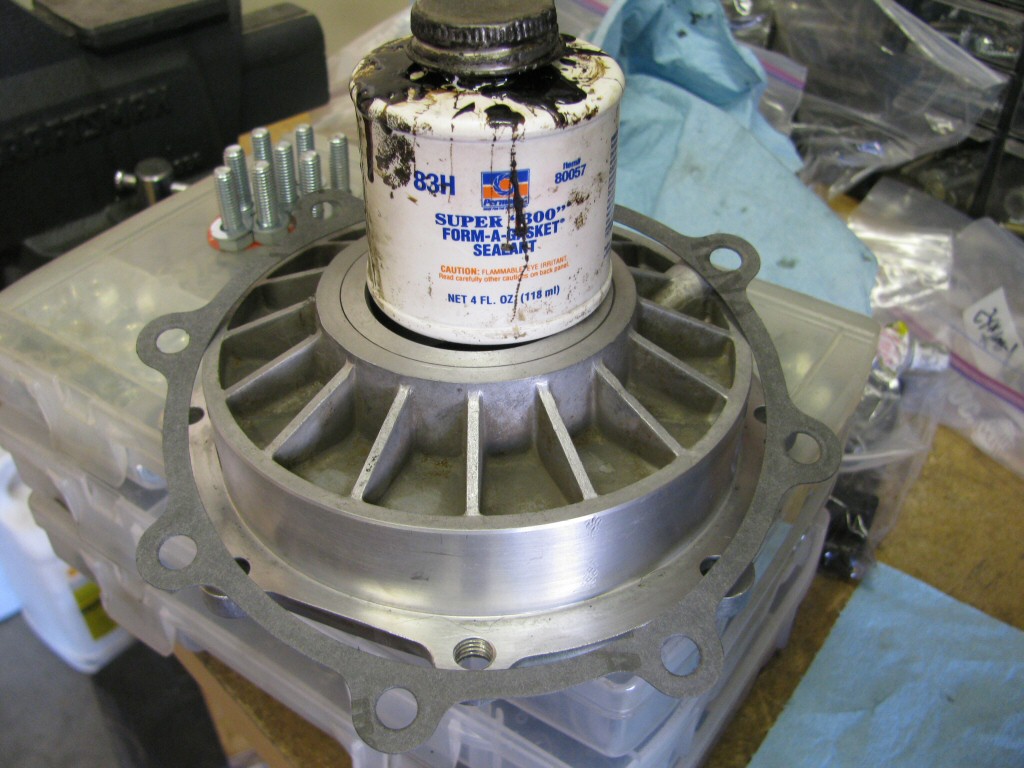
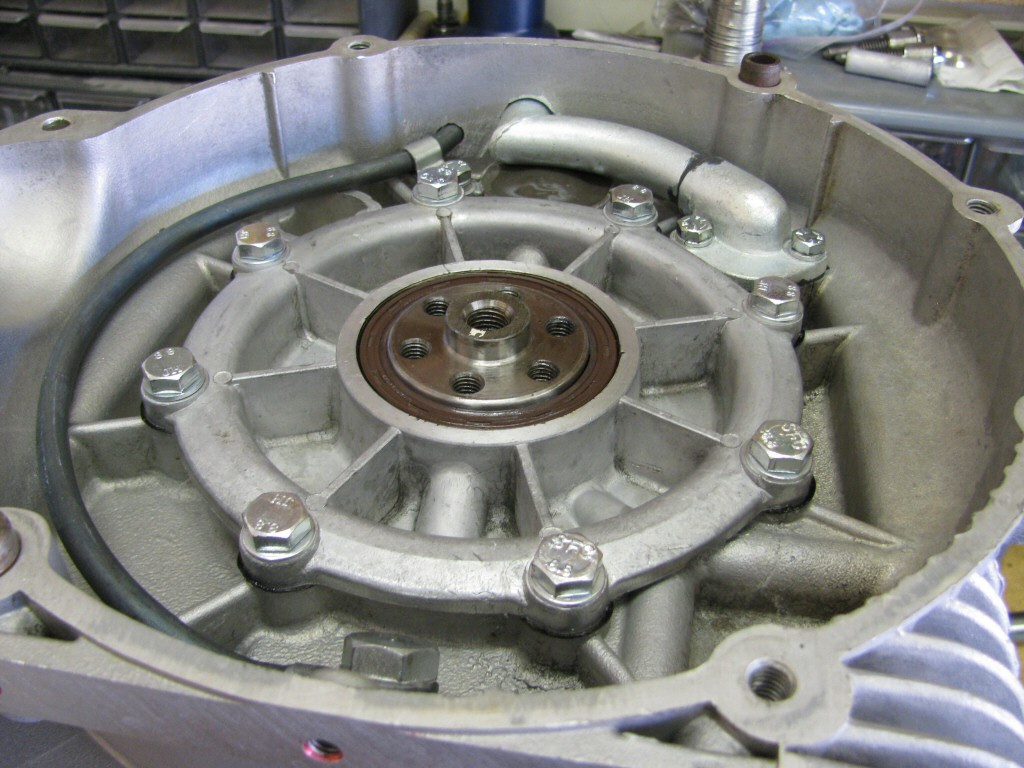
Topics > Project motorcycles > Roy Smith's Moto Guzzi 850 T3 engine rebuild > 2013 March 19: Install the rear main bearingCreated: 2013 March 19Updated: 2013 March 19First entry|Previous entry|Next entry|Last entryTime to fit the rear main bearing.Photo courtesy of Gregory Bender.Fresh gasket.Photo courtesy of Gregory Bender.Again, I apply Permatex Super 300 to the gasket surface.Photo courtesy of Gregory Bender.The rear main bearing is fully installed, though I am temporarily using flat washers. I ran out of the thick wave washers and was waiting on my shipment to arrive. Rather than stop work on the rest of the engine, I fit these knowing that I would replace as soon as the proper washers arrived.Photo courtesy of Gregory Bender.First entry|Previous entry|Next entry|Last entryAdditional entries for this project2013 March 19: Inspect and prepare the crankcase2013 March 19: Ensure the bottom of the crankcase and sump are flat2013 March 19: Prepare the crankshaft2013 March 19: Prepare the rear main bearing2013 March 19: Install the breather pipes in the bellhousing2013 March 19: Install the camshaft2013 March 19: Install the oil pump2013 March 19: Install the front main bearing2013 March 19: Install the crankshaft2013 March 19: Install the rear main bearing2013 March 19: Install the timing sprockets, chain, and tensioner2013 March 19: Fit the timing chest cover2013 March 19: Revisit the rear main bearing2013 March 19: Fit the connecting rods2013 March 19: Fit the oil sump and sump extension2013 March 19: Install the flywheel and clutch2013 March 19: Install the alternator and rotor2013 March 19: Install the oil pressure sending unit2013 March 19: Install the tappets2013 March 19: Install the right piston and cylinder2013 March 19: Install the left piston and cylinder2013 March 19: Install the left cylinder head2013 March 19: Install the right cylinder head2013 March 19: Install the distributor2013 March 19: Repair timing chest cover