2013 March 19: Fit the oil sump and sump extension
Created:
Updated:
First entry|Previous entry|Next entry|Last entry
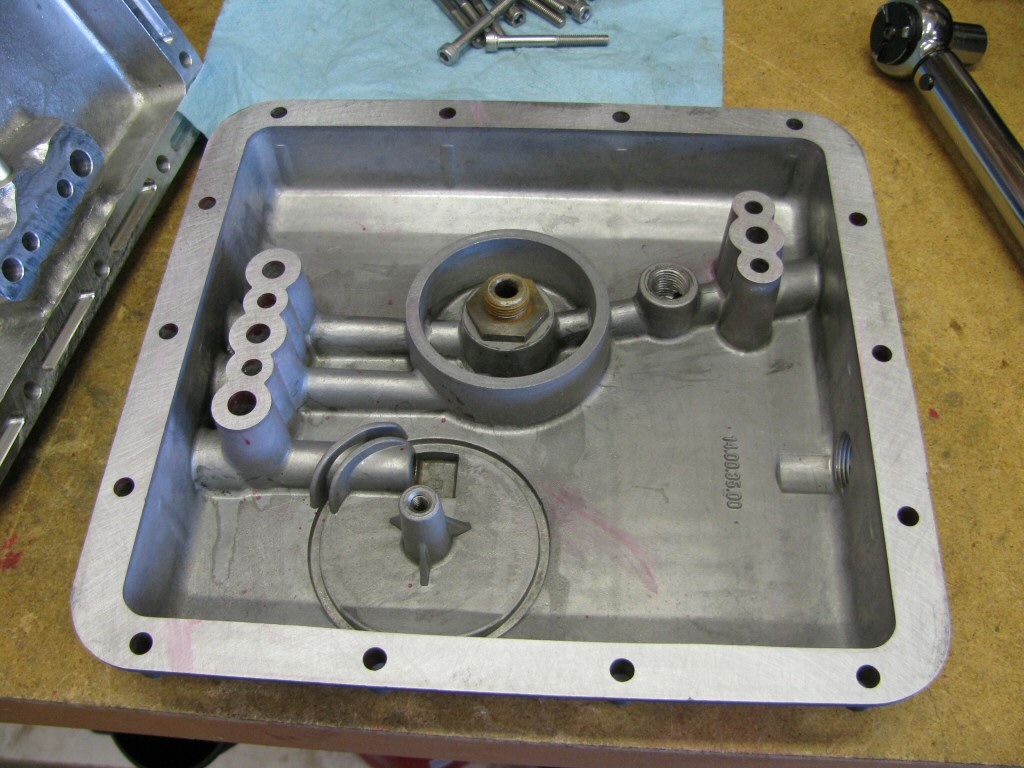 Time to fit the sump and external oil filter / sump extension.
Photo courtesy of Gregory Bender.
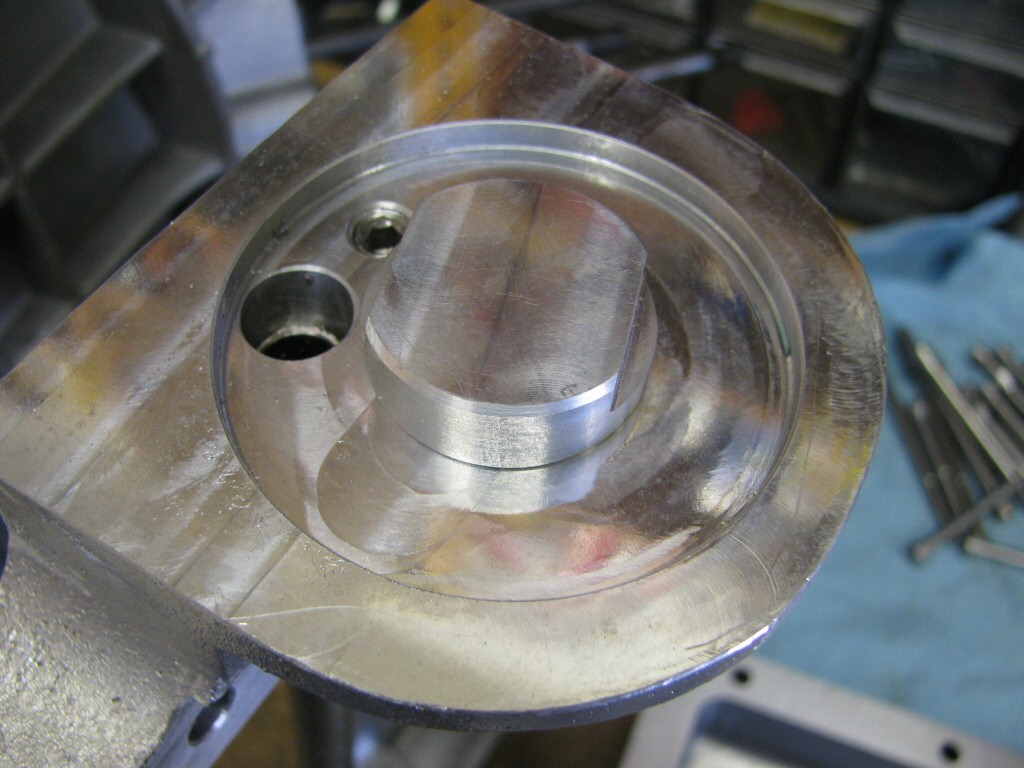 Remove this plug from the external oil filter mount.
Photo courtesy of Gregory Bender.
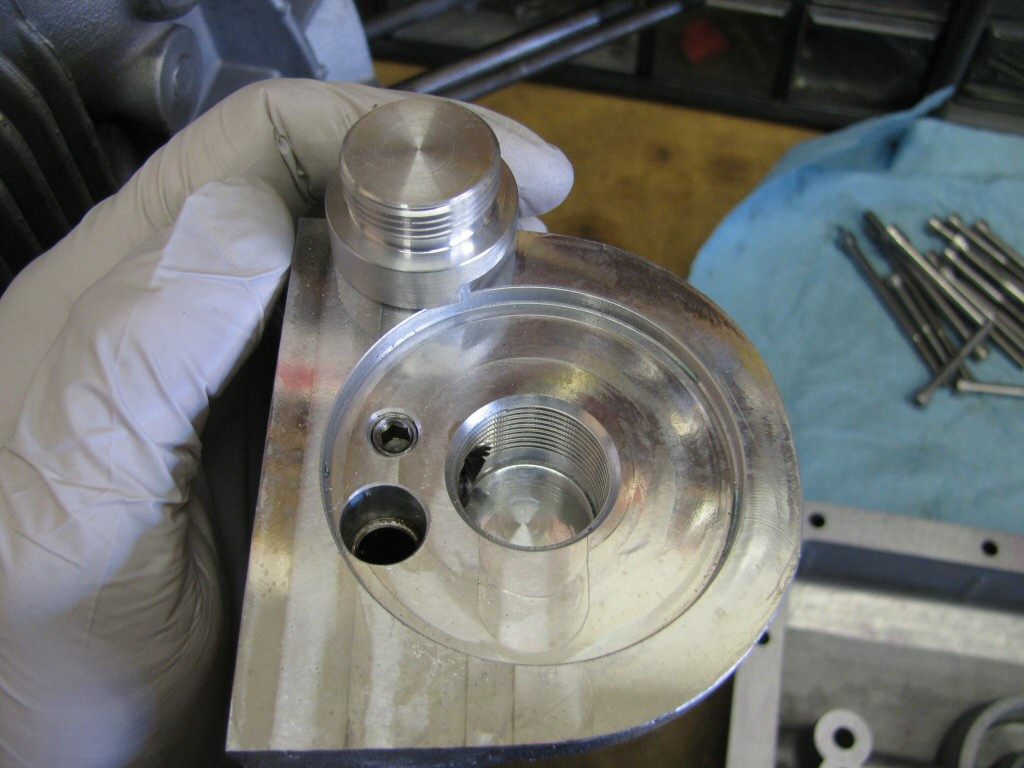 A look at the threaded hole.
Photo courtesy of Gregory Bender.
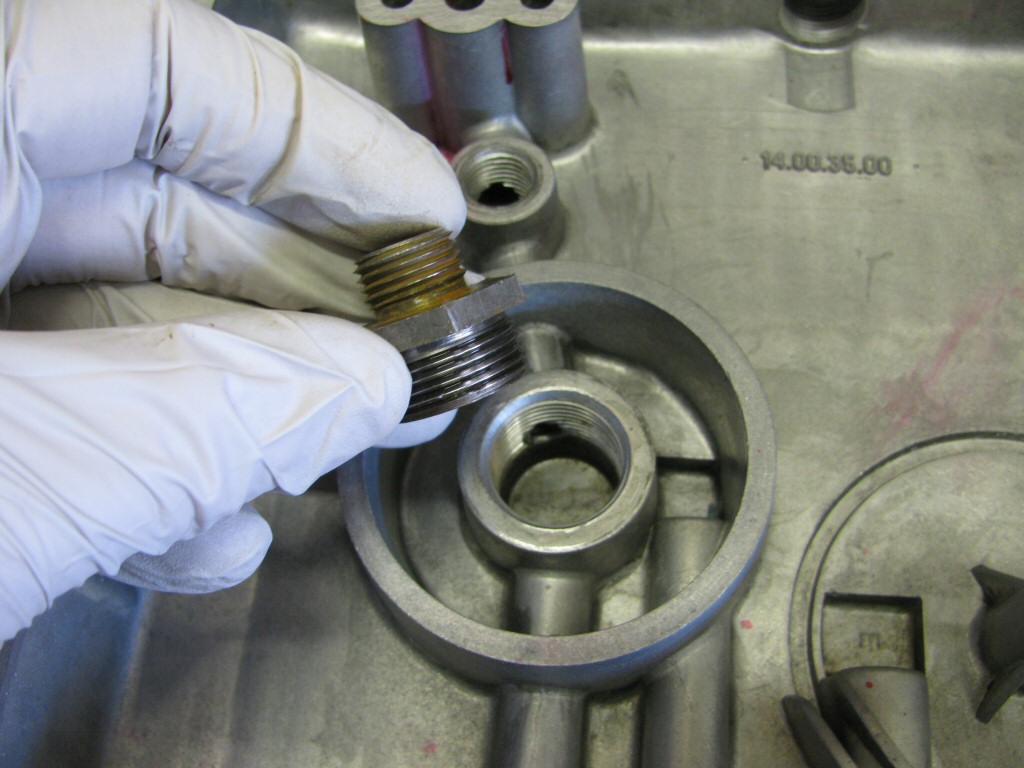 Also remove the oil filter adapater from the oil pan.
Photo courtesy of Gregory Bender.
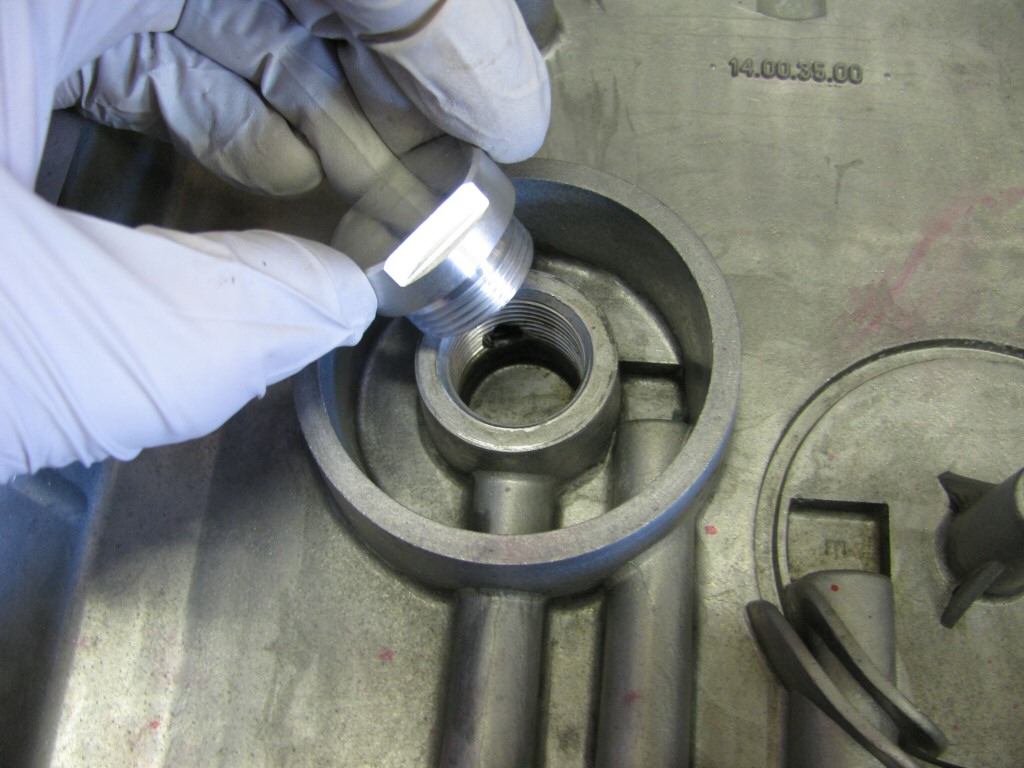 The plug goes in the sump.
Photo courtesy of Gregory Bender.
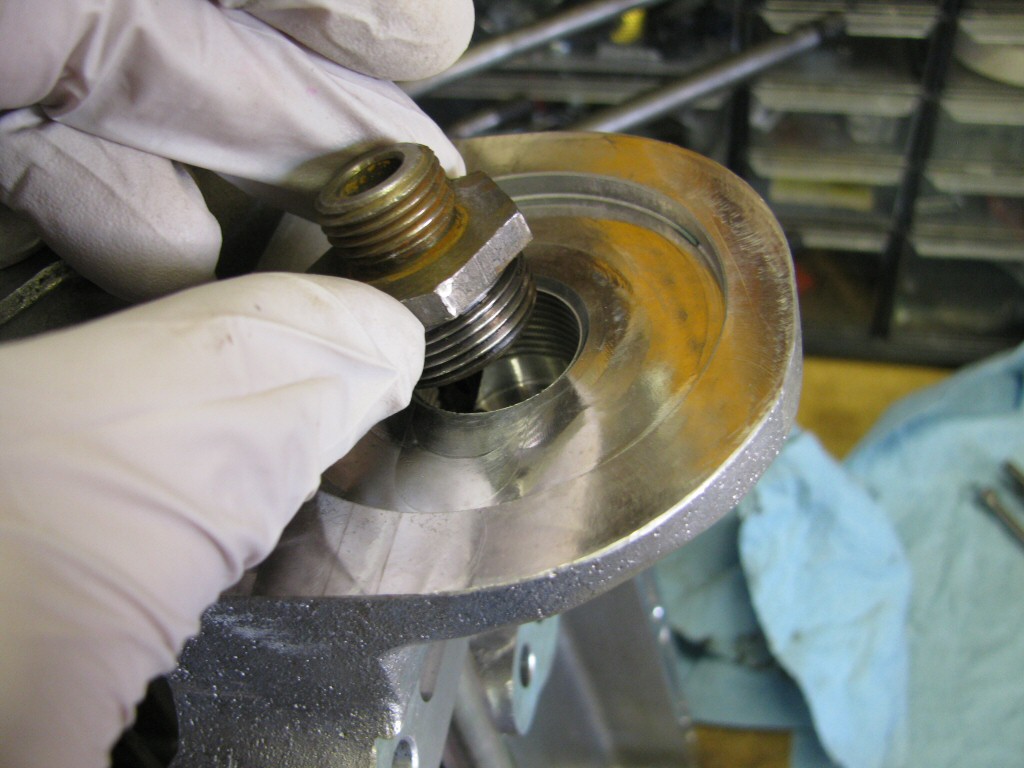 The oil filter adapter goes in the external oil filter.
Photo courtesy of Gregory Bender.
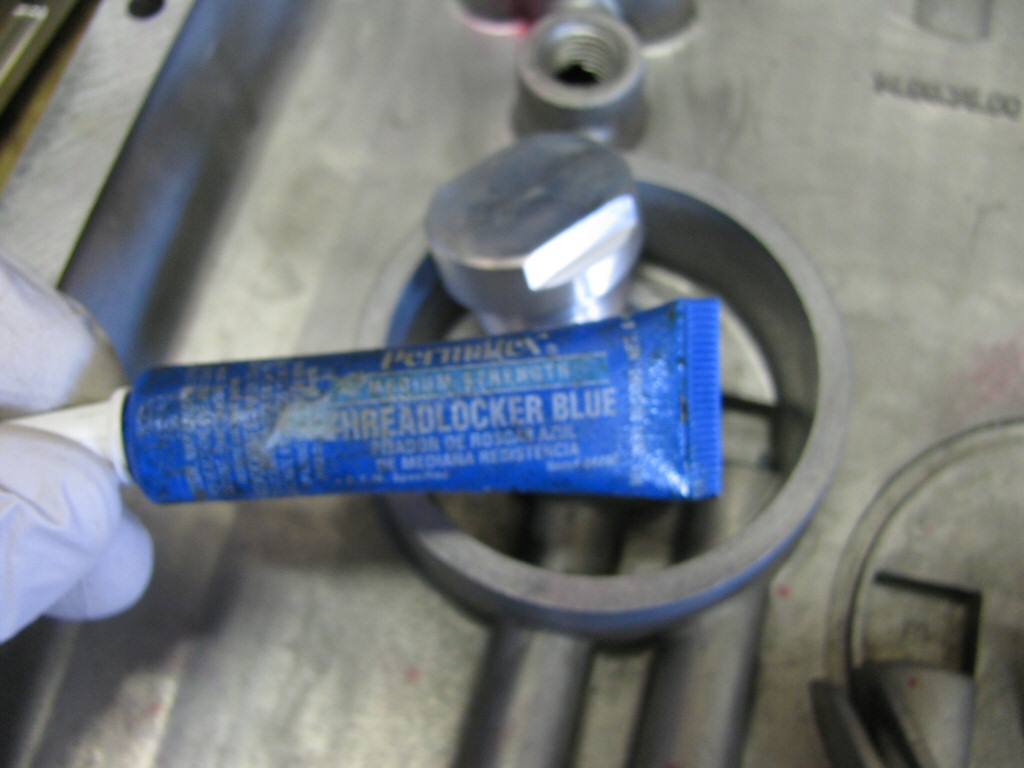 I applied blue Loctite to the plug threads.
Photo courtesy of Gregory Bender.
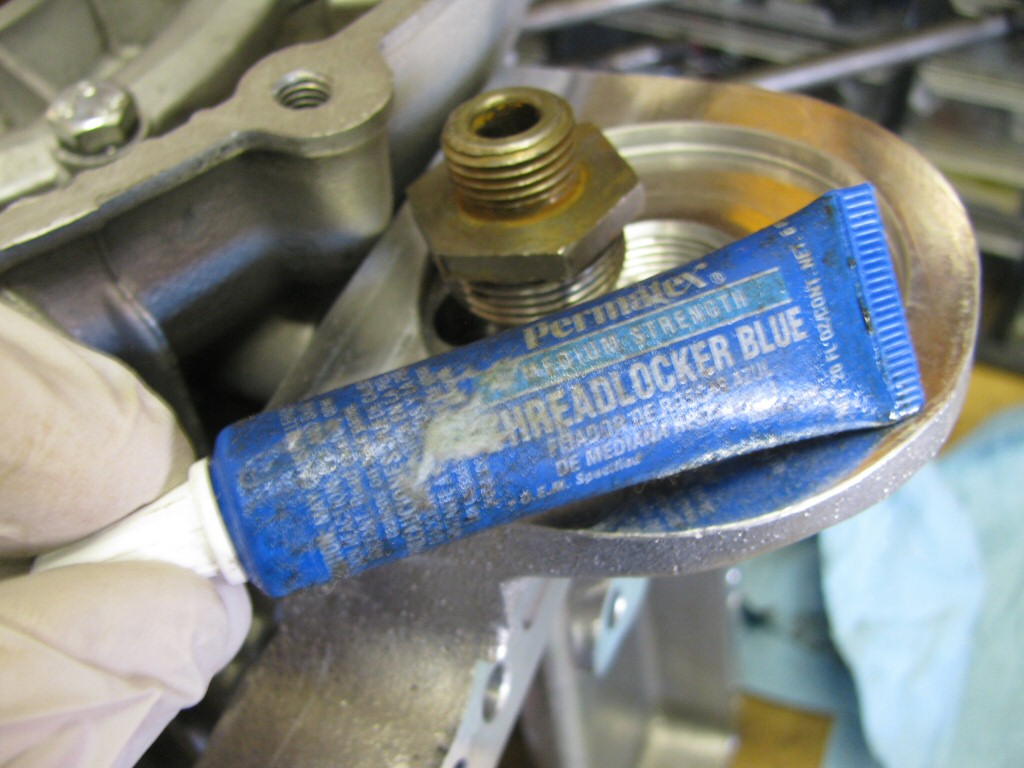 I applied blue Loctite to the oil filter adapter threads.
Photo courtesy of Gregory Bender.
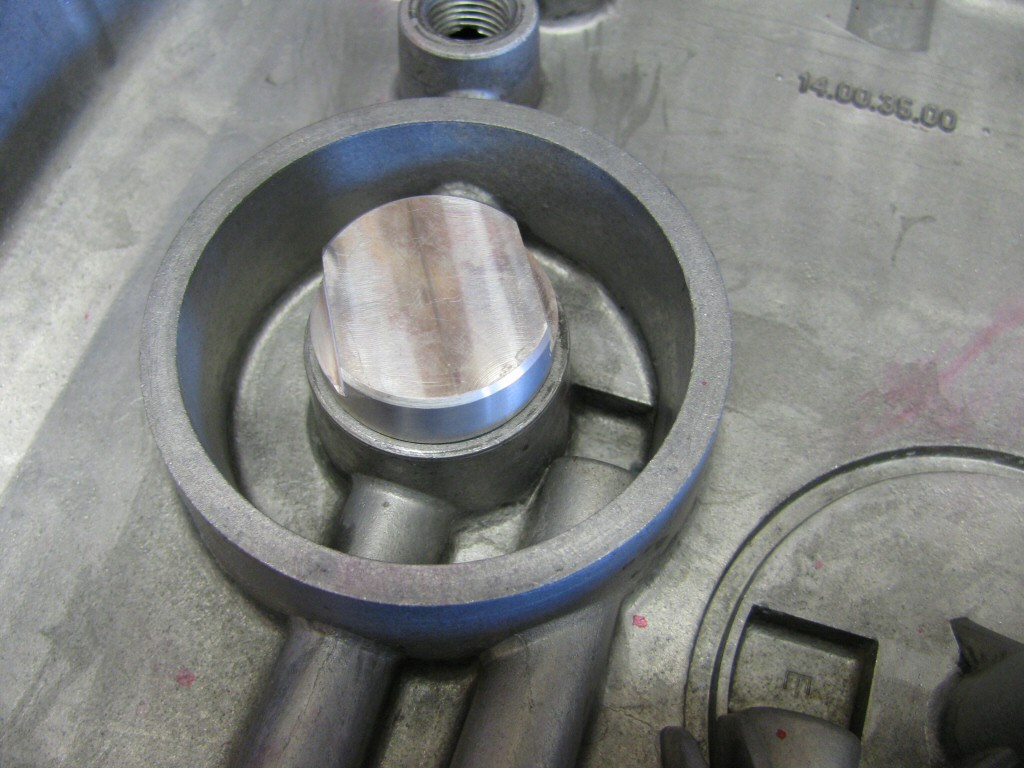 Plug tightened in place.
Photo courtesy of Gregory Bender.
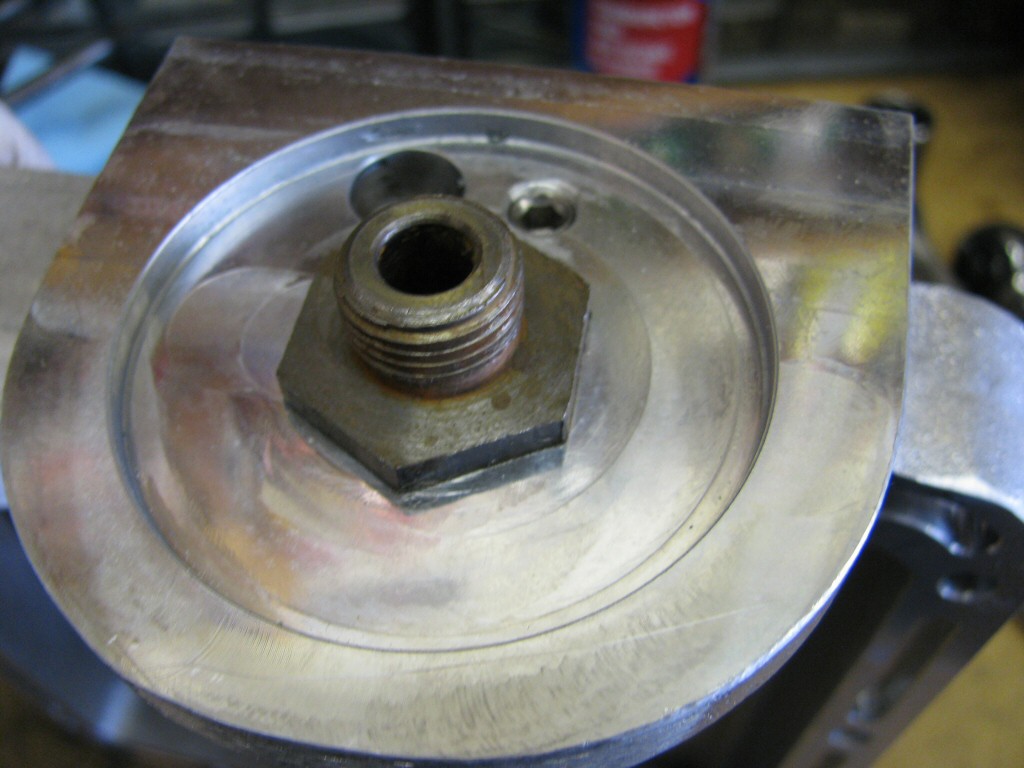 Oil filter adapter tightened in place.
Photo courtesy of Gregory Bender.
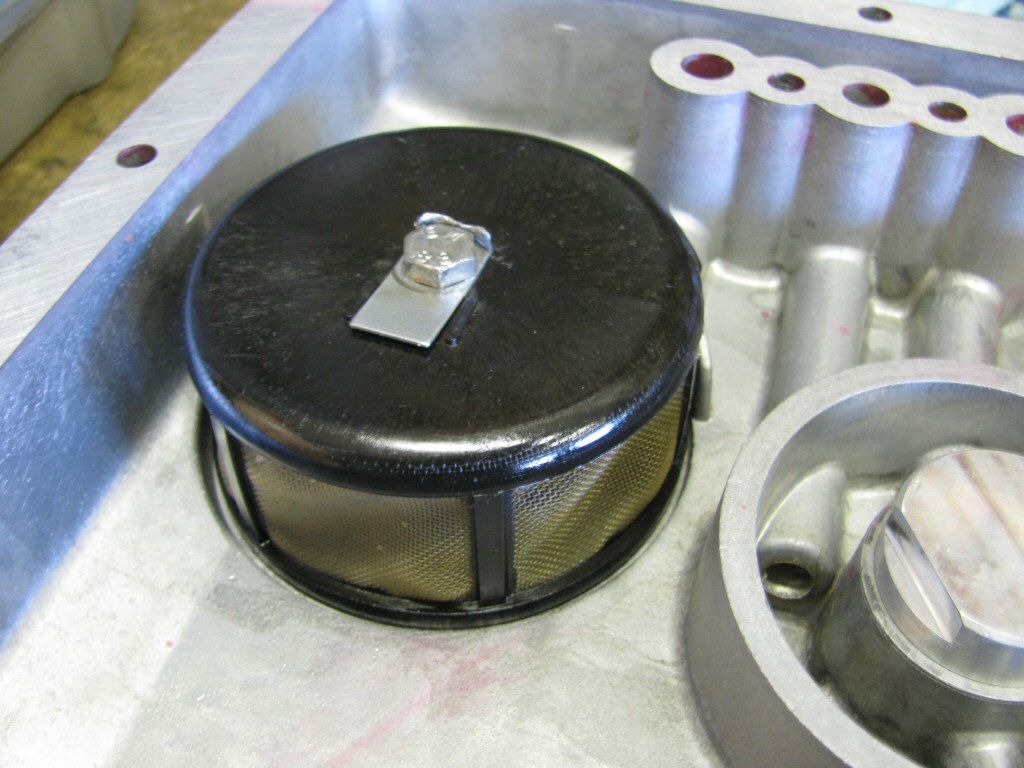 Pick up screen fit to the sump.
Photo courtesy of Gregory Bender.
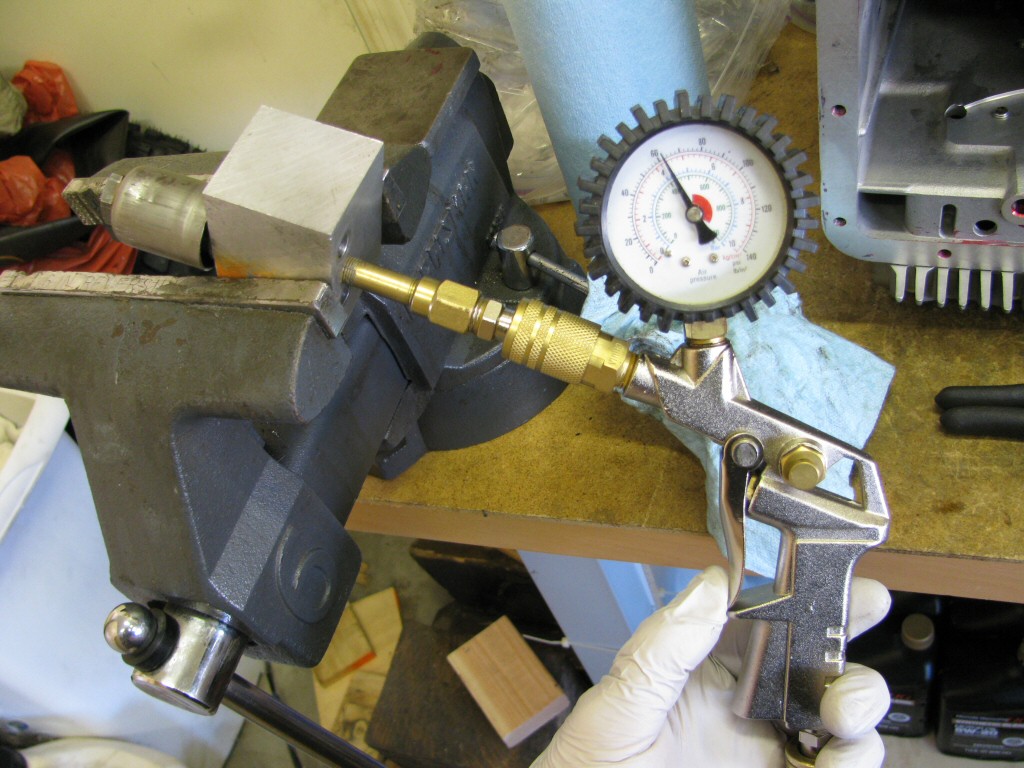 I clean up the sealing surfaces internal to the oil pressure relief valve, then set the blow off point to 60 PSI or just a bit higher.
Photo courtesy of Gregory Bender.
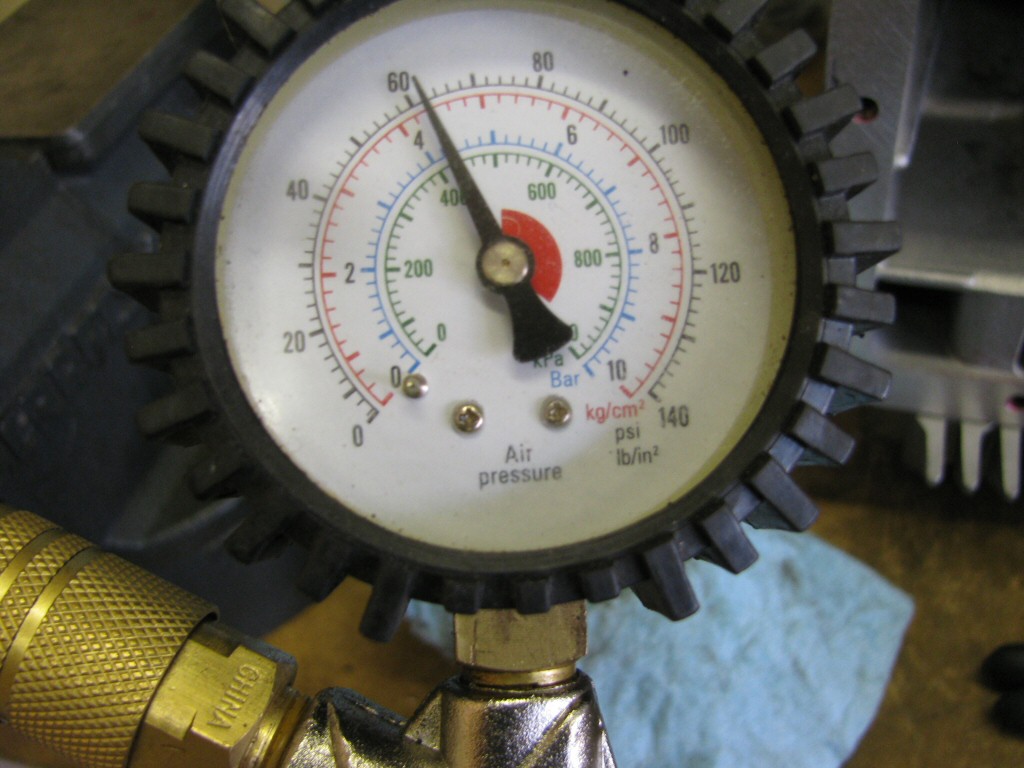 This one opens right where I like it to open.
Photo courtesy of Gregory Bender.
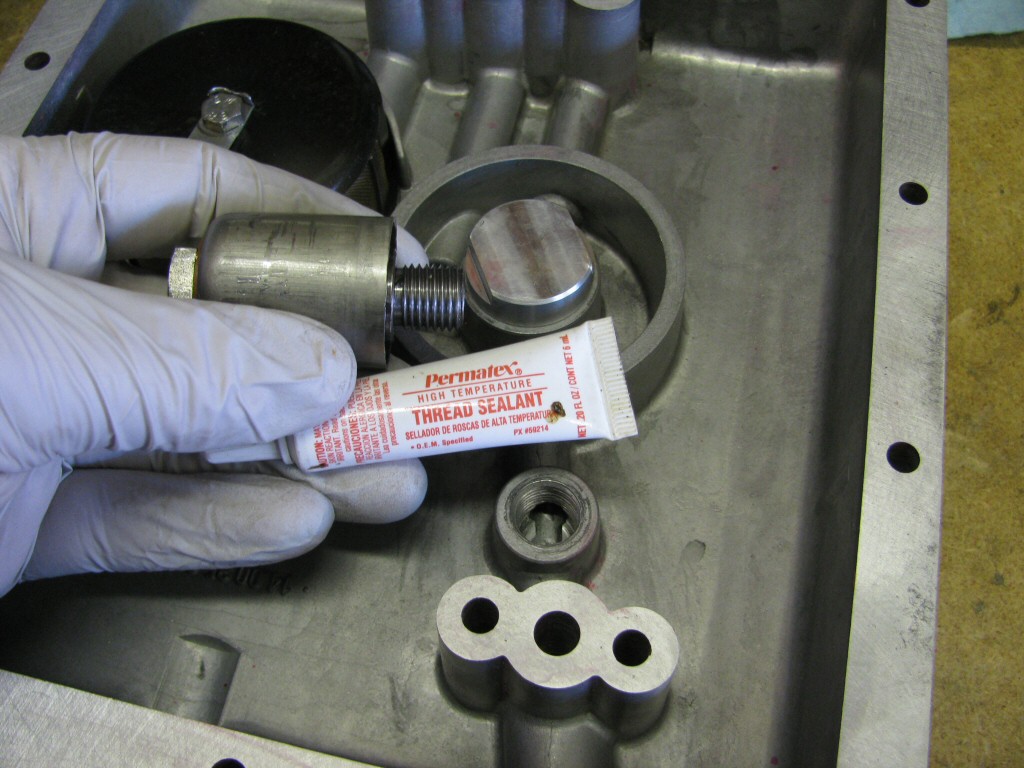 I applied thread sealant to the threads.
Photo courtesy of Gregory Bender.
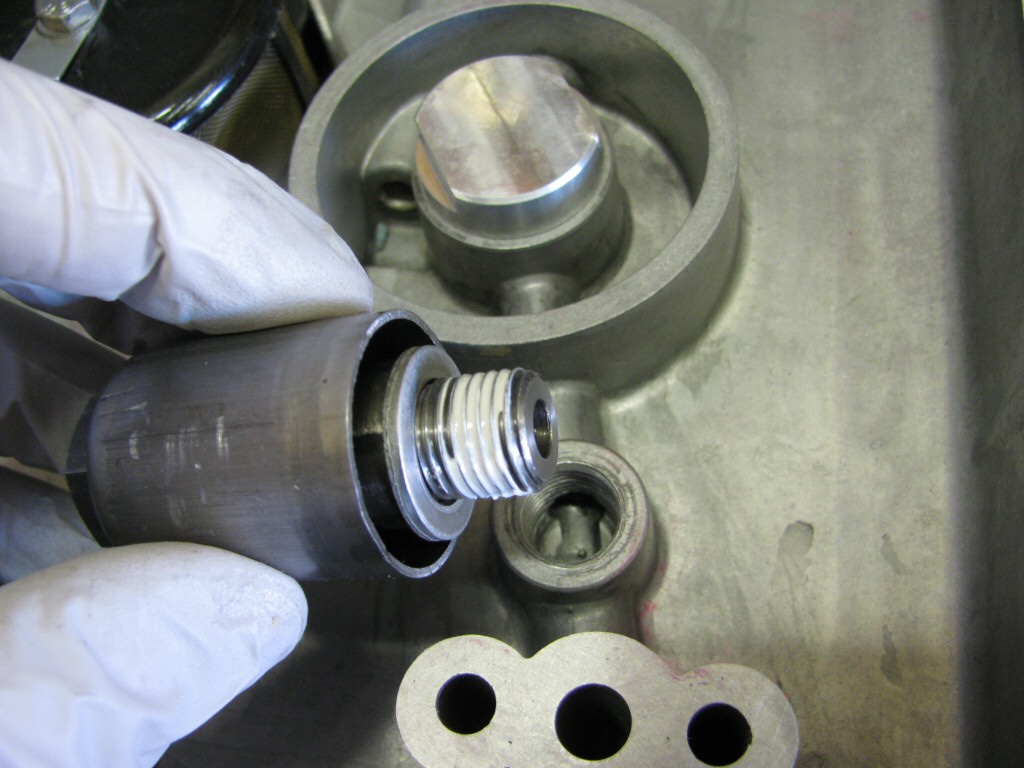 It is a lovely white color.
Photo courtesy of Gregory Bender.
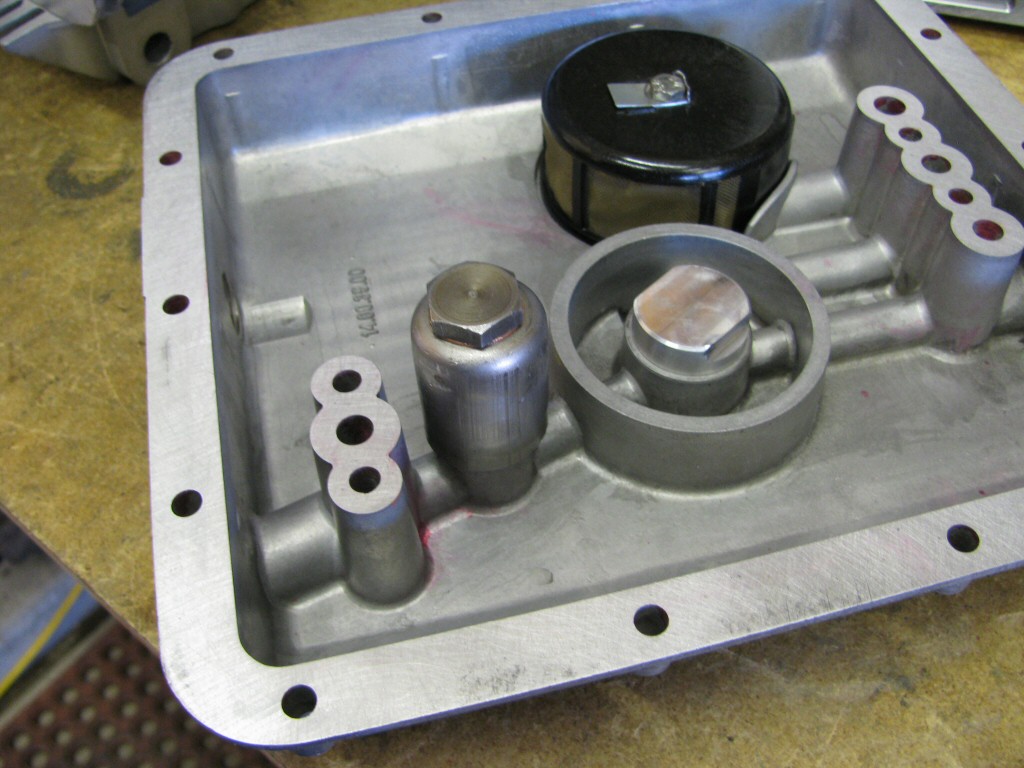 Here is the sump, ready for install.
Photo courtesy of Gregory Bender.
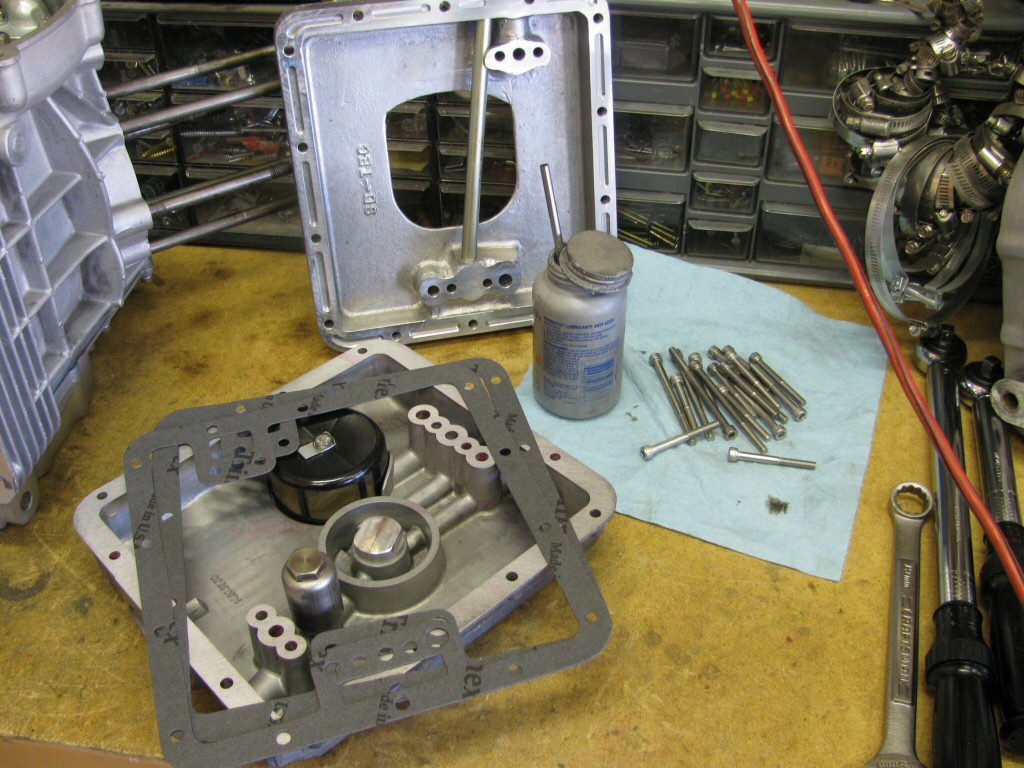 Two new gaskets, stainless steel fasteners, anti-seize, etc. I grease the gaskets before install.
Photo courtesy of Gregory Bender.
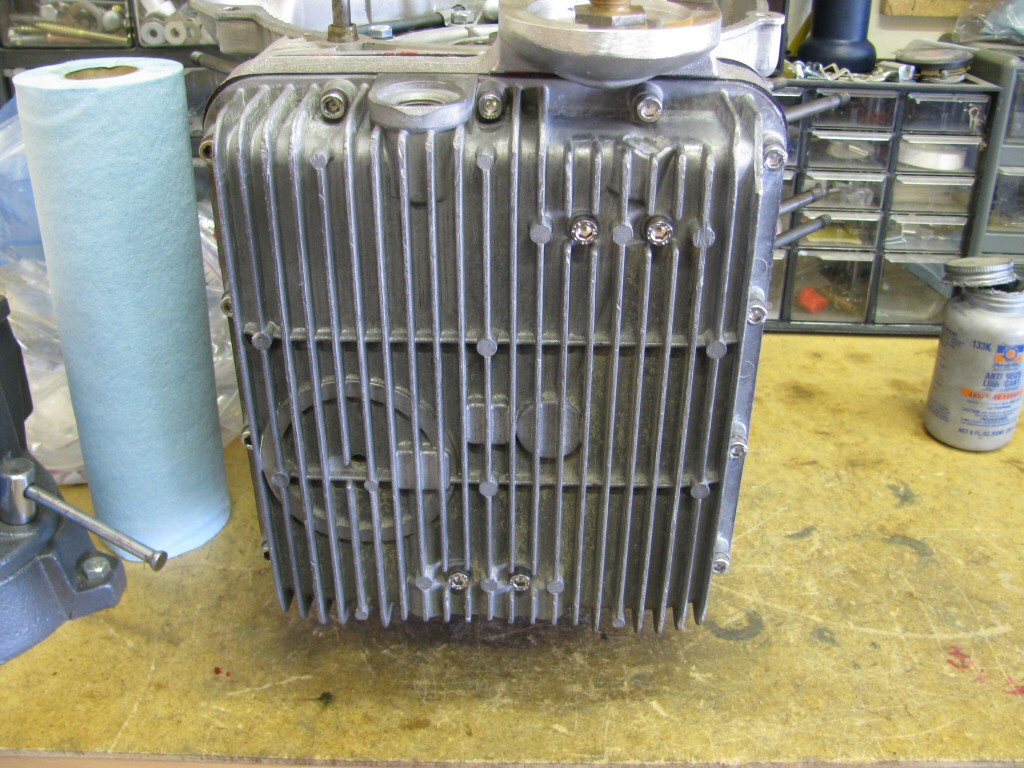 Sump and external oil filter fit in place.
Photo courtesy of Gregory Bender.
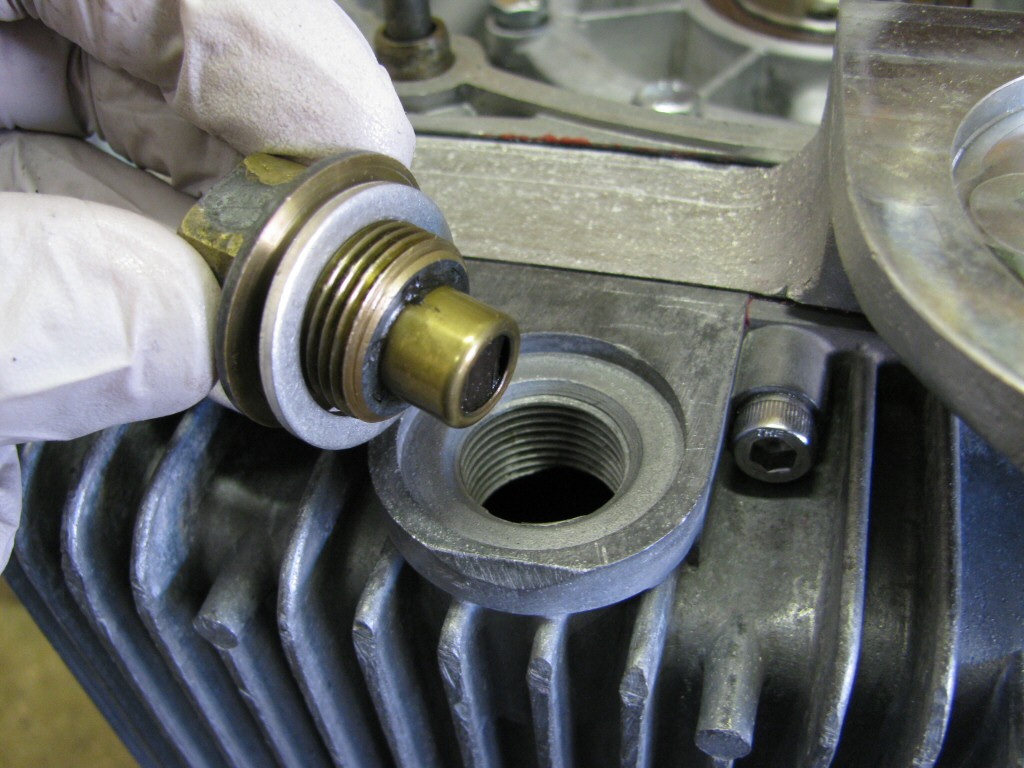 New crush washer on the drain plug.
Photo courtesy of Gregory Bender.
First entry|Previous entry|Next entry|Last entry


