2013 March 19: Fit the connecting rods
Created:
Updated:
First entry|Previous entry|Next entry|Last entry
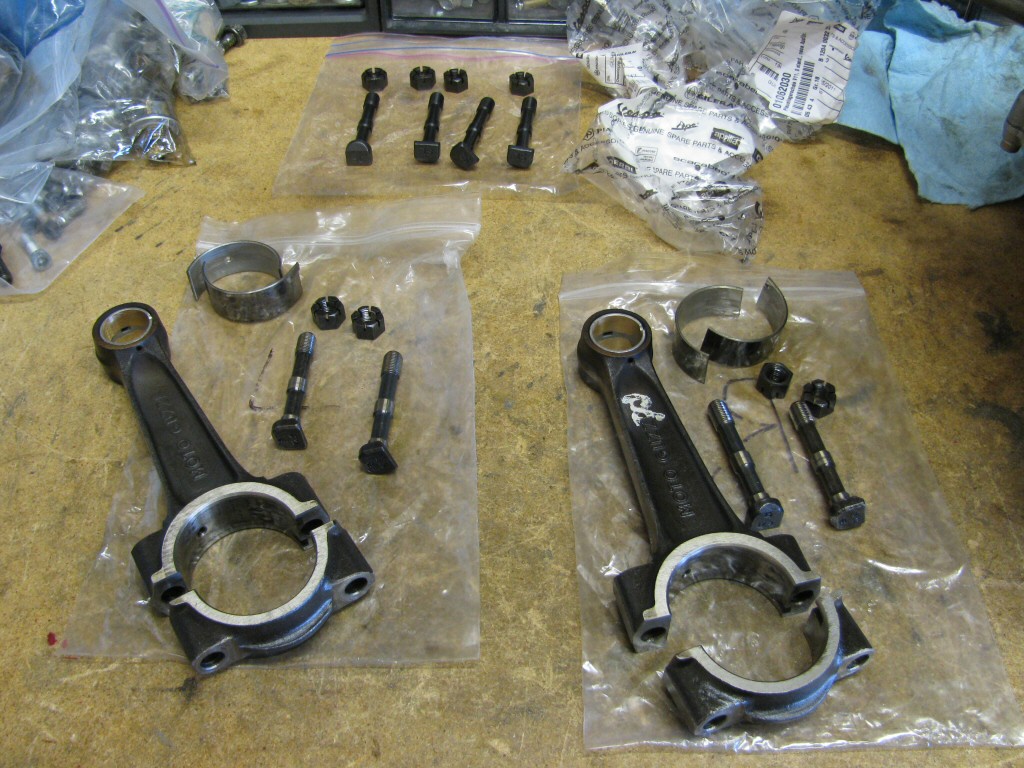 Time to fit the connecting rods.
Photo courtesy of Gregory Bender.
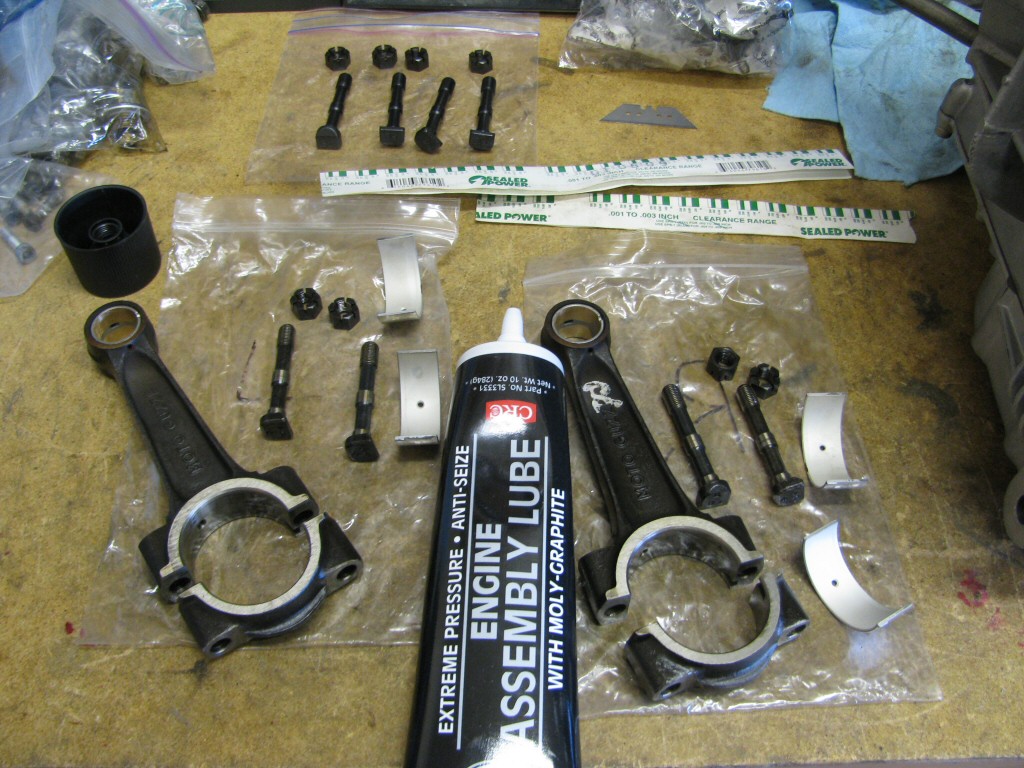 The half shells get replaced, and here they are in the photo.
Photo courtesy of Gregory Bender.
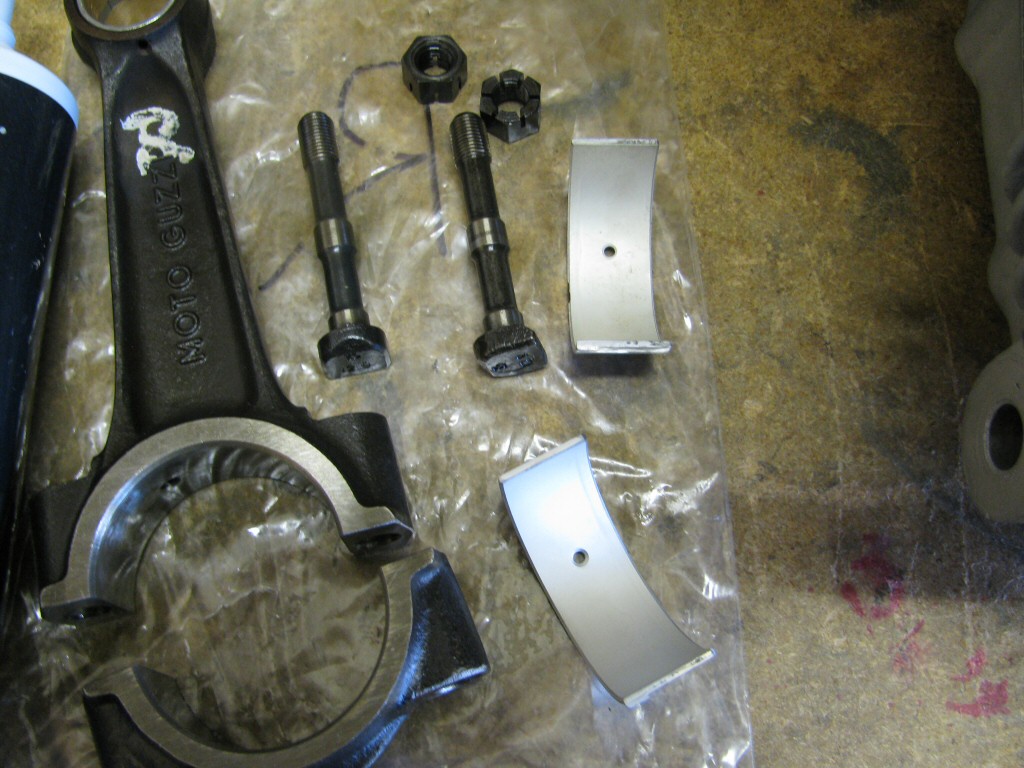 I'll start with the right connecting rod since so that I am working with gravity.
Photo courtesy of Gregory Bender.
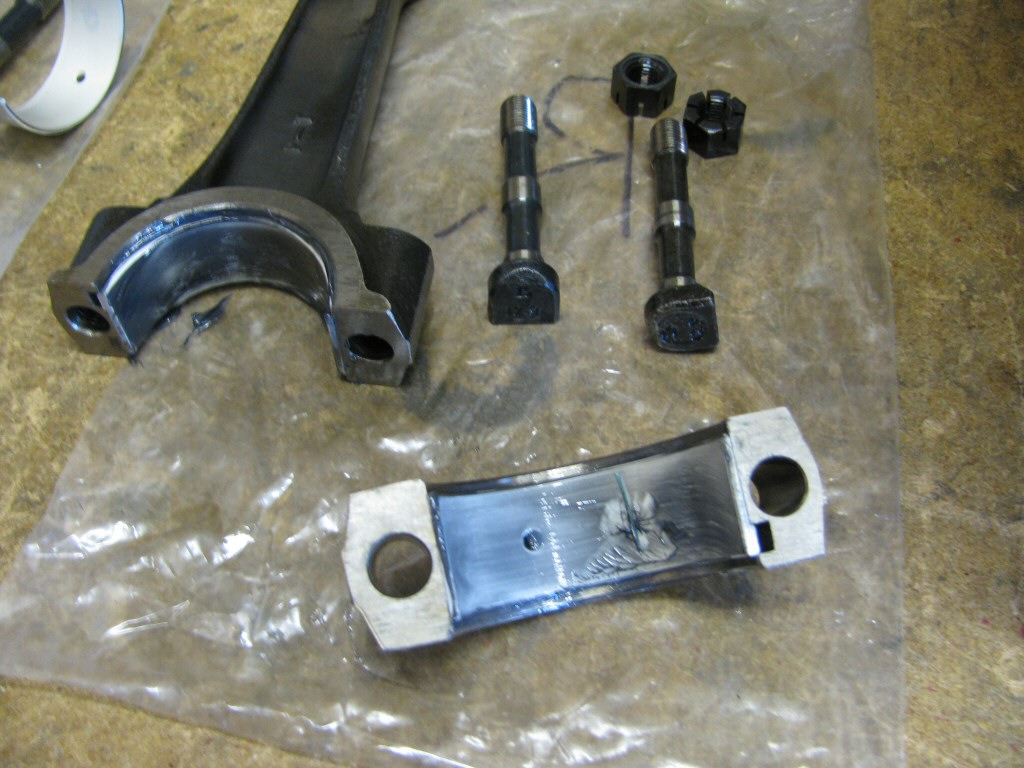 Shells fit with assembly lube.
Photo courtesy of Gregory Bender.
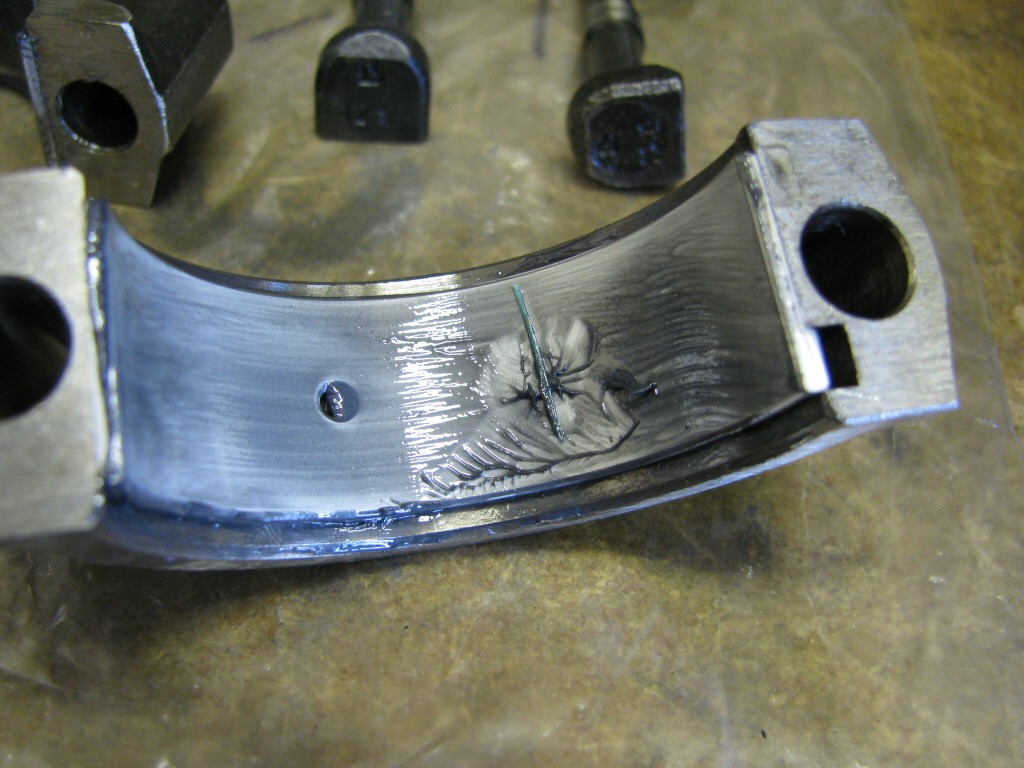 Green plastigauge in place for measuring the clearance.
Photo courtesy of Gregory Bender.
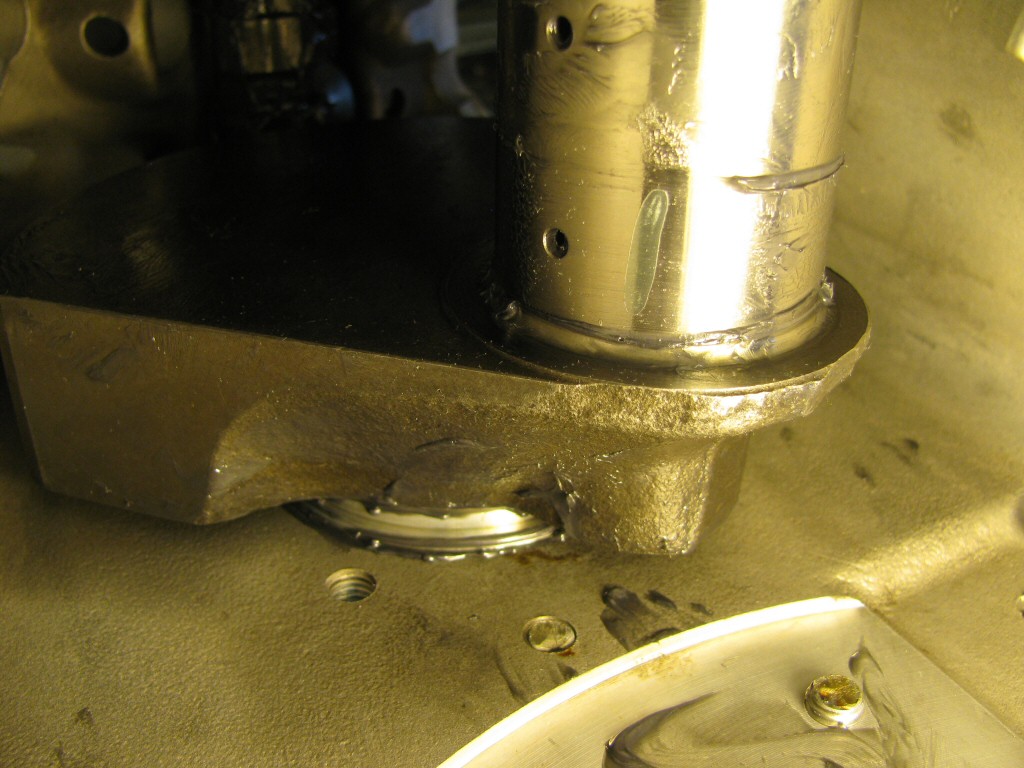 Here is the green plastigauge after the connecting rod was fit, torqued, and then removed.
Photo courtesy of Gregory Bender.
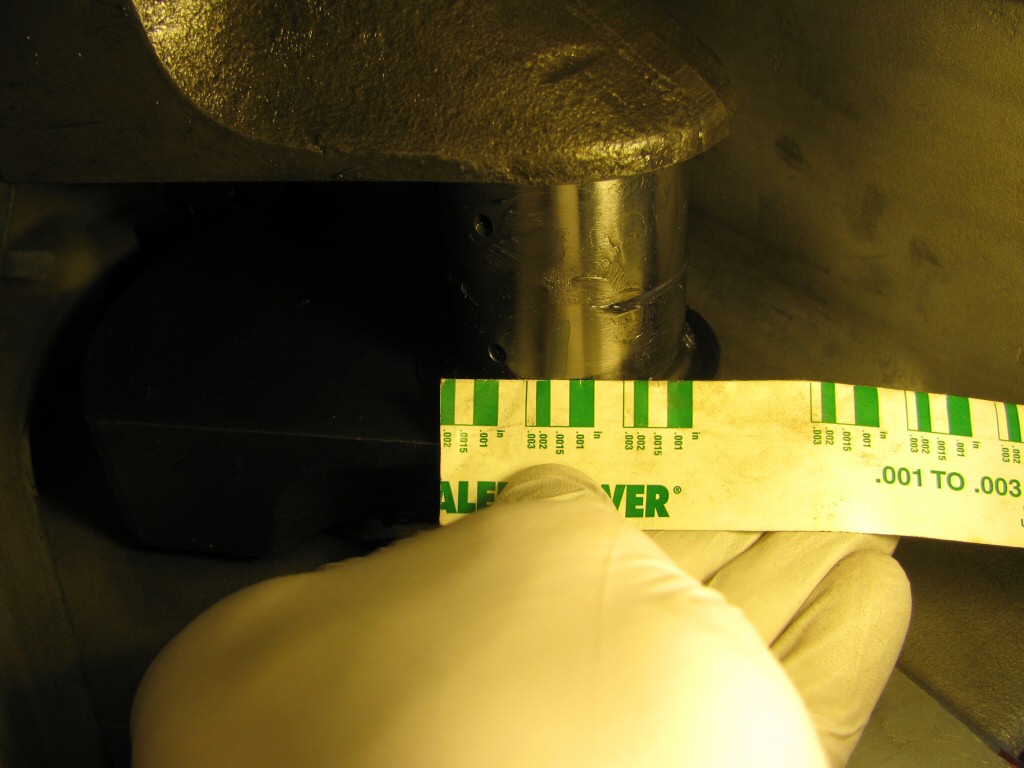 The width is right on target with the desired clearance.
Photo courtesy of Gregory Bender.
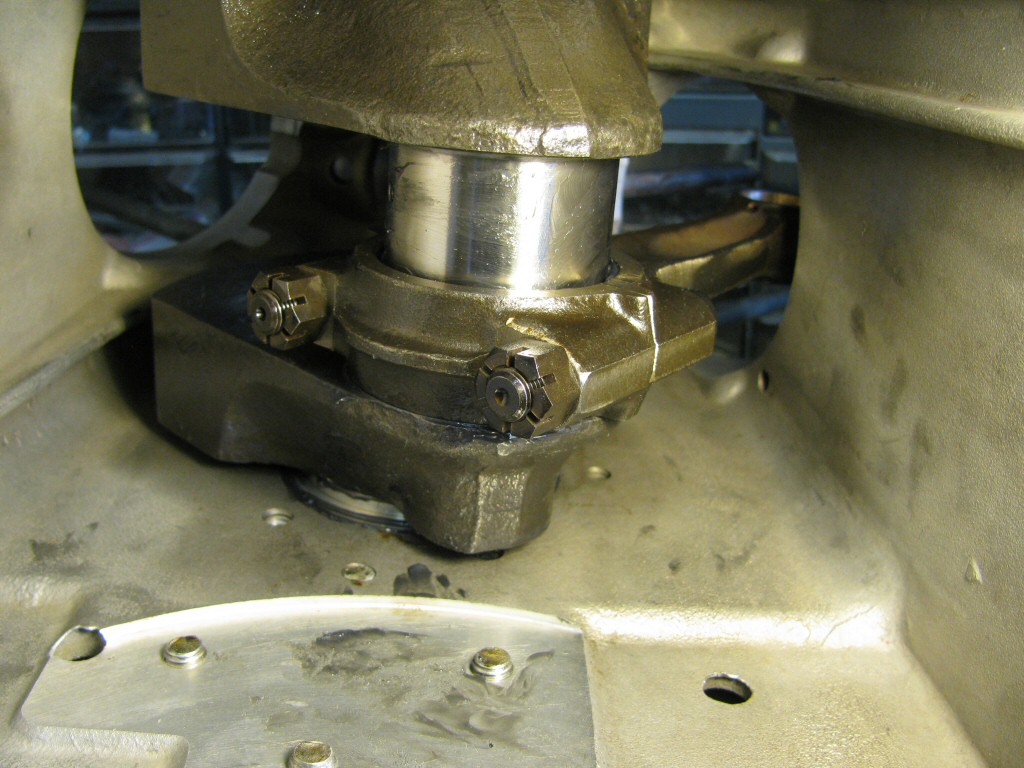 With the plastigauge removed from the crankpin, the connecting rod is fit in place with the nuts torqued.
Photo courtesy of Gregory Bender.
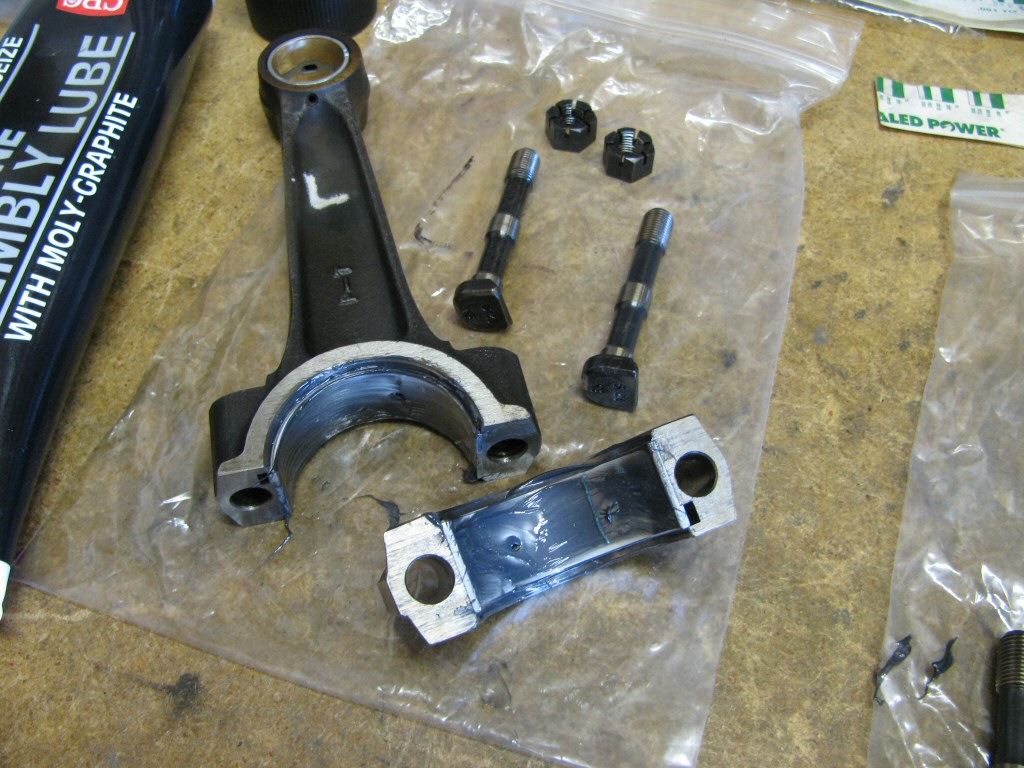 Time to repeat with the left connecting rod.
Photo courtesy of Gregory Bender.
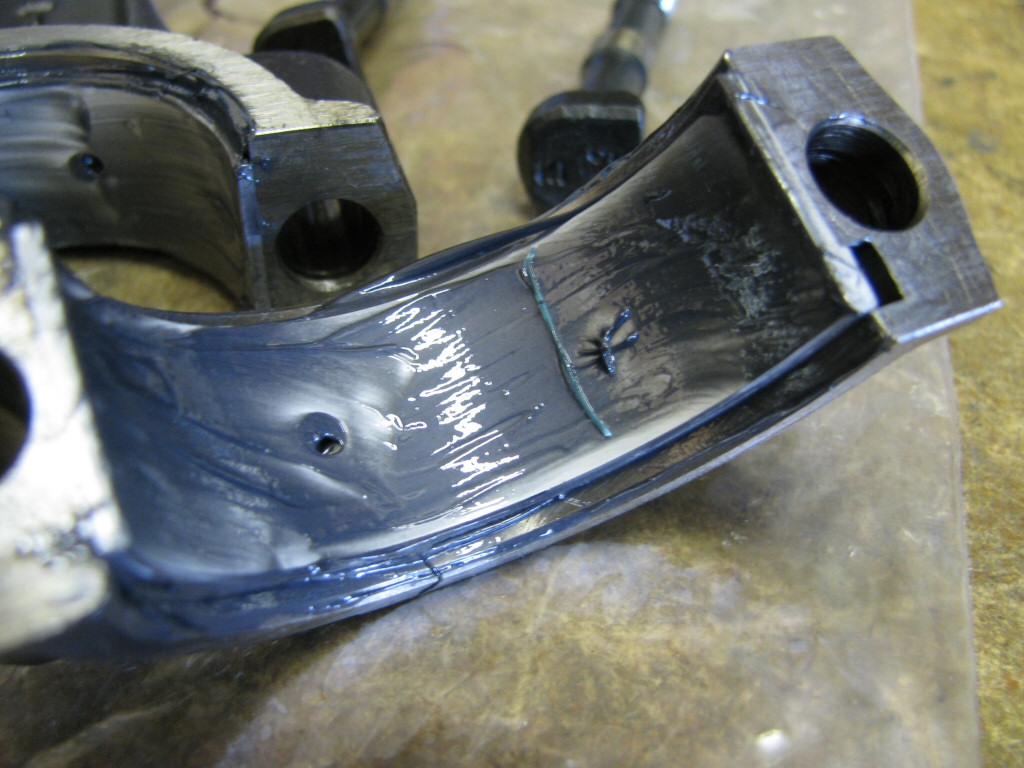 Here is the plastigauge in place.
Photo courtesy of Gregory Bender.
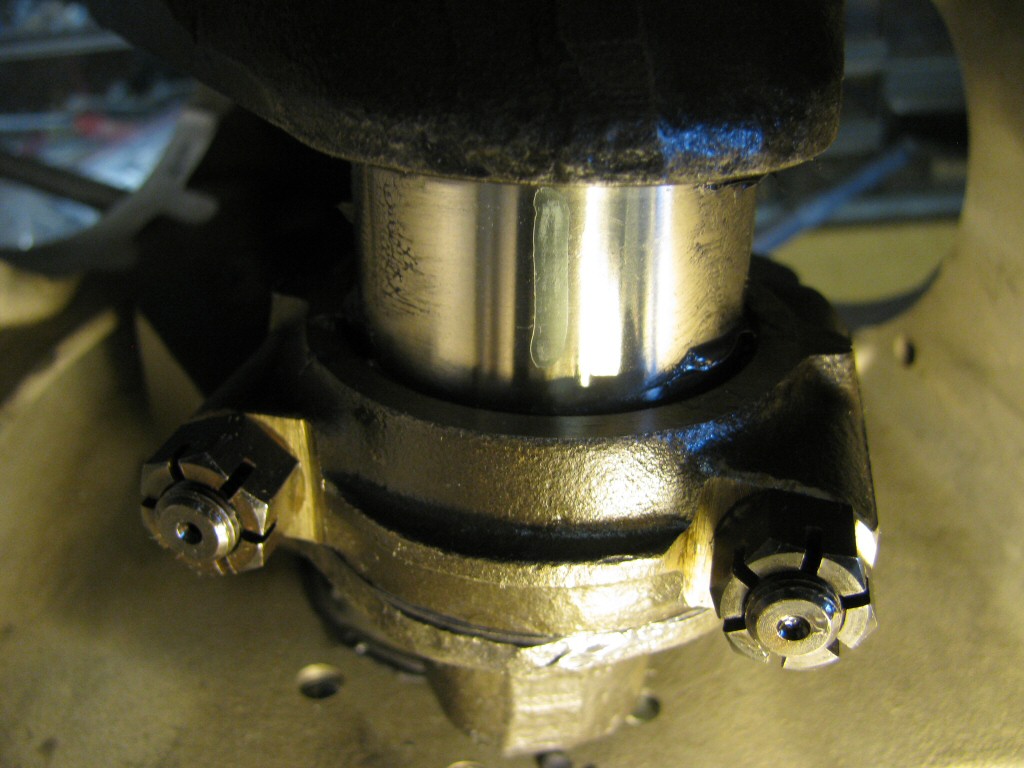 The squeezed plastigauge.
Photo courtesy of Gregory Bender.
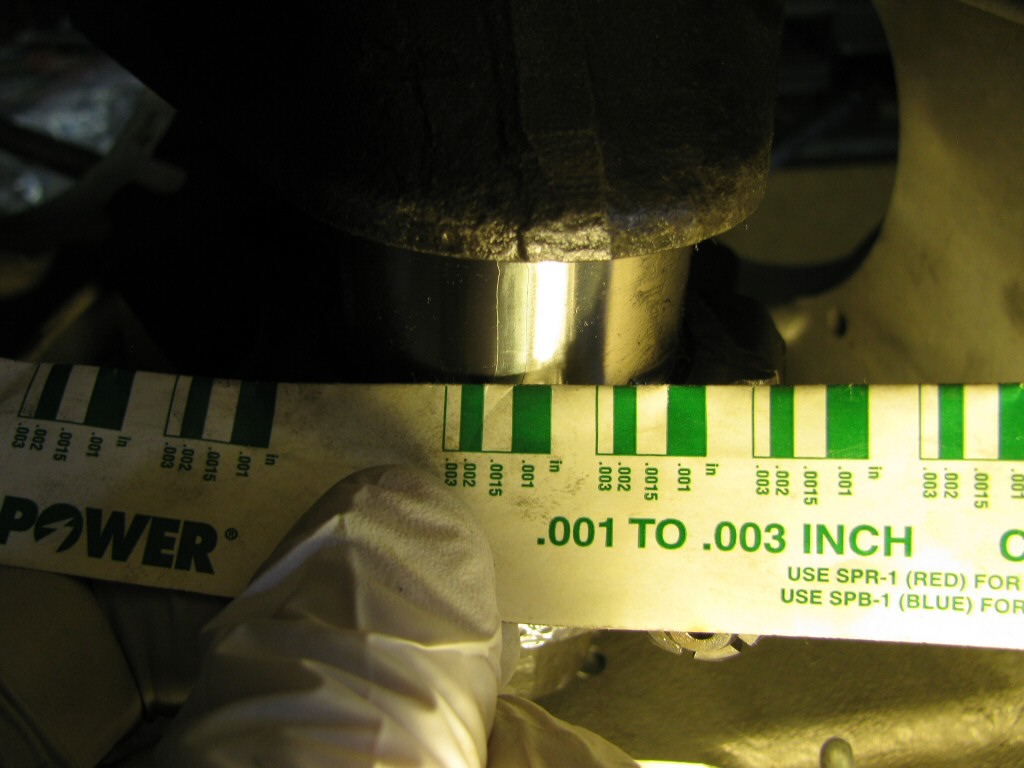 And the measurement - right on target.
Photo courtesy of Gregory Bender.
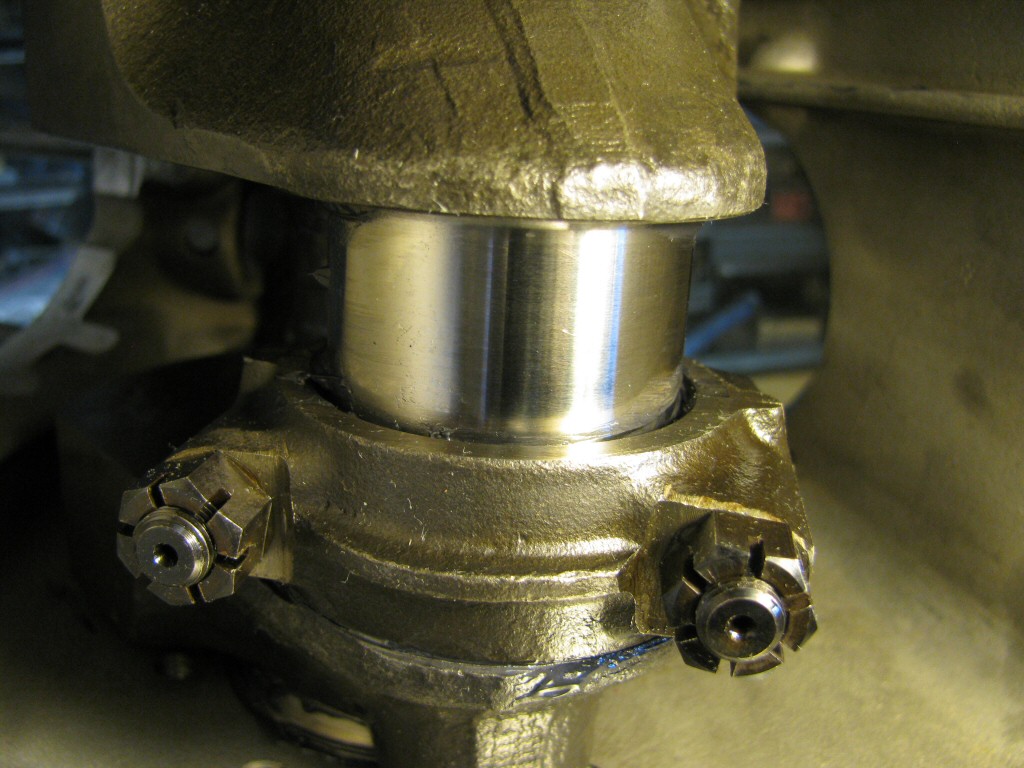 The cleaned crankpin.
Photo courtesy of Gregory Bender.
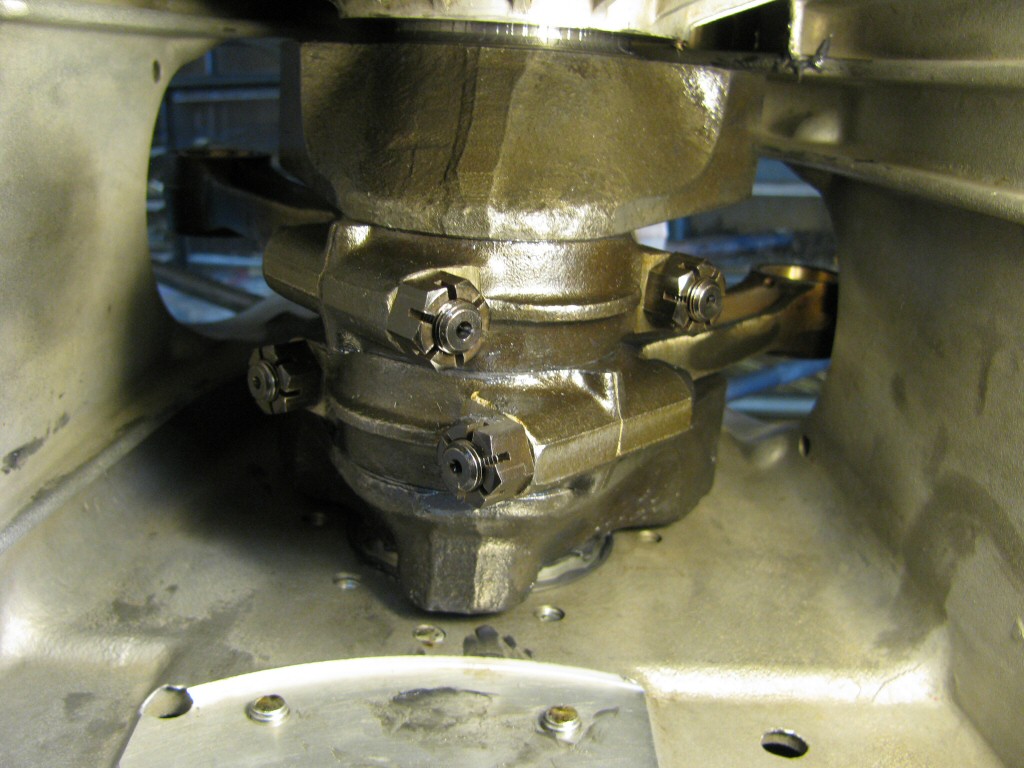 The left connecting rod fit.
Photo courtesy of Gregory Bender.
First entry|Previous entry|Next entry|Last entry


