Transmission - Shimming the shift drum
Moto Guzzi V700, V7 Special, Ambassador, 850 GT, 850 GT California, Eldorado, and 850 California Police models
Updated:
Shim the shift drum
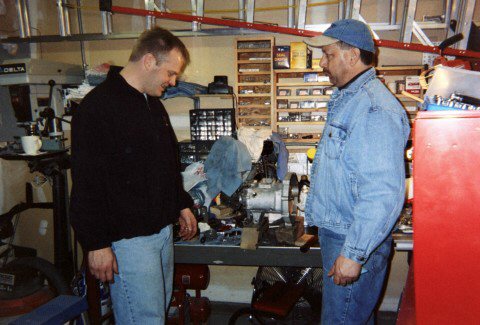
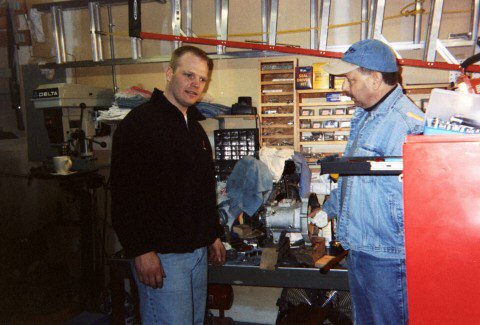
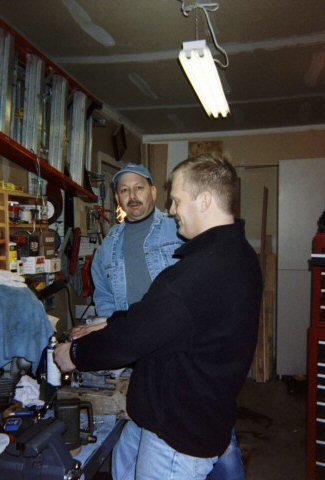
This sounded scary and difficult to me at first, but it turned out very easy to do (especially with some help from John Ulrich on a cold Minnesota Saturday at the end of January, 2004). And the results are great: fewer false neutrals, reduced clunking when shifting, less shift pedal movement required to engage gears, etc.

Photo courtesy of Angela Bender.

Photo courtesy of Angela Bender.

Photo courtesy of Angela Bender.

Photo courtesy of Angela Bender.
For materials, you'll just need a supply of shims...they come in the following sizes: 0.6 mm (MG# 55235000), 0.8 mm (MG# 55235001), 1 mm (MG# 55235002), and 1.2 mm (MG# 55235003). The shims are cheap, so I got two of each and now have plenty of extras. The outside diameter of the shims is 22 mm and the inside diameter is 8 mm. But none of these dimensions are critical. A selection of inch shims with an inside diameter of 5⁄16 inch and an outside diameter of 3⁄4 inch, 7⁄8 inch, or 1 inch would work well, too (using thicknesses of 0.02 inch, 0.03 inch, 0.04 inch, and 0.05 inch).
- 5 speed shimming procedure. I suggest reading the articles on the GuzziTech.dk archive as well as these articles from the Guzzi Power web site:
- 4 speed shimming procedure - this is very similar to the 5 speed shimming procedure (so start by reading the articles above), but since I was unable to locate any instructions specifically for the nuances of 4 speeds, here they are:
- One shim should be located at the front of the shift drum, between the shift drum and the case (MG# 55235000, MG# 55235001, MG# 55235002, and MG# 55235003). My transmission had a 0.8 mm shim located here.
- Another shim should be located at the rear of the shift drum, between the inner selector body and the case (immediately to the rear of part 27). My transmission did not have one located here, but required one that was 0.72 mm thick. I used a piece of 220 grit sandpaper to remove 0.08 mm from a 0.8 mm thick shim.
- When checking for end-to-end play on the shift drum, I followed these procedures:
- I removed everything from the case except for the shift drum, the shaft that runs through the shift drum, the inner selector body (MG# 55236400), and the appropriate shims.
- I replaced the cover on the case and secured it with several bolts before checking for any play.
- When checking for play, I was primarily concerned with end-to-end play. But, I also paid some attention to the ability of the shift drum to rotate freely and smoothly. The shift drum doesn't rotate all that much, but I certainly didn't want it to bind, either.
- Once you have shims of the appropriate thickness on both the front and rear of the shift drum, you will need to carefully flatten one edge of the rear shim. This is necessary to allow for the gears on the starter pin (MG# 12236800) to engage with the gear on the inner selector body (MG# 55236400).
Check the shift forks for excessive wear
I'm not aware of any exact specs for how much wear is acceptable. Replacing them is not cheap. They run about USD $100.00 a piece - which is a lot of money considering that you might be able to pick up an entire used 4 speed transmission off of eBay for less than USD $100.00 delivered. Keep track of the relative position of each fork as you remove them. You'll want to check for wear patterns against the associated gear. My forks only had slight wear, so I reused them.
Special tools you will need
- Generic gear puller to remove the clutch hub from the clutch shaft (this isn't so special a tool, but I thought I should mention it anyway)
- For 5 speed transmissions, a special ring nut is used to secure the clutch hub. A special socket is required to remove it.
- Special socket/wrench to remove the lock ring from the layshaft (the 4 speed and 5 speed transmissions have different nuts, so a unique special tool is required for each.)
- Some type of wrench (perhaps a large pipe wrench, perhaps a special tool) for holding either the layshaft or the clutch hub while tightening the lock ring on the layshaft.